Heel-tap dead bug
Also called dead bug heel taps, supine heel taps.
What is a heel-tap dead bug?
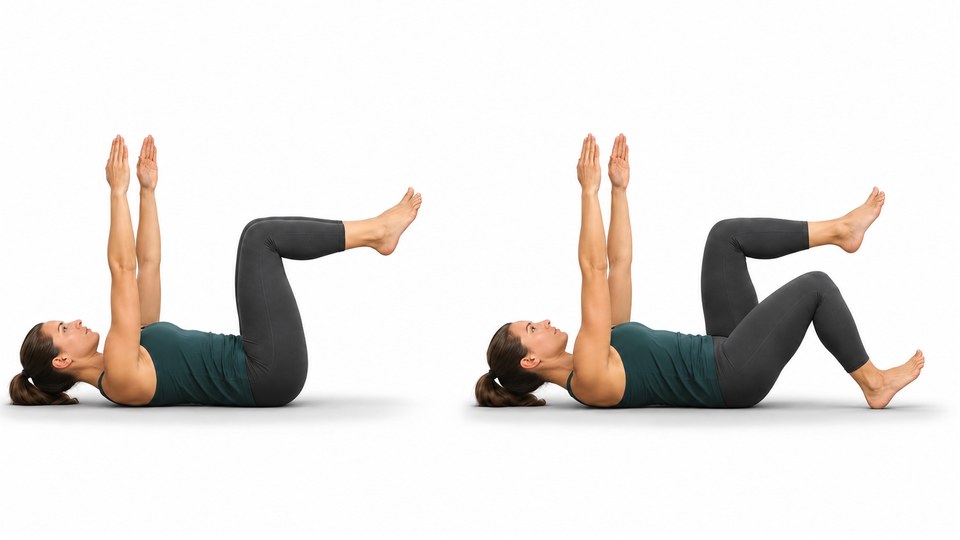
A heel-tap dead bug starts on the back with both legs raised and knees bent. Lower one heel toward the floor, bring it back up, then change legs while the trunk stays steady. The arms remain above the chest instead of reaching overhead.
How do you perform a heel-tap dead bug?
Set up
- Lie on your back, rest your head and raise your arms above the chest. Bring up one leg and then the other, with knees bent roughly to right angles over the hips.
- Gently firm the abdomen and choose a comfortable back position you can keep while breathing.
Execution
- Lower one bent leg from the hip while the other knee stays above its hip.
- Lightly touch down with the heel if you can keep the trunk still; otherwise stop the lowering sooner.
- Return that knee above the hip before lowering the other leg.
Common mistakes
Straightening the moving leg
Keep the chosen knee bend for this version. A straight-leg reach changes the setup and should be logged separately.
Lowering both feet together
Keep one leg raised while the other lowers. Return to the start before changing sides.
Arching to make the heel reach the floor
Use a shallower lowering range. End the set if you cannot keep breathing and hold your trunk position.
Where it fits in a session
Use as a chosen abdominal-control drill in a session you can manage comfortably.
Choose a short set that leaves breathing and movement controlled. Keep the starting position and range consistent before adding repetitions. Record any variation in the set notes.
Muscles worked
Primary
Secondary
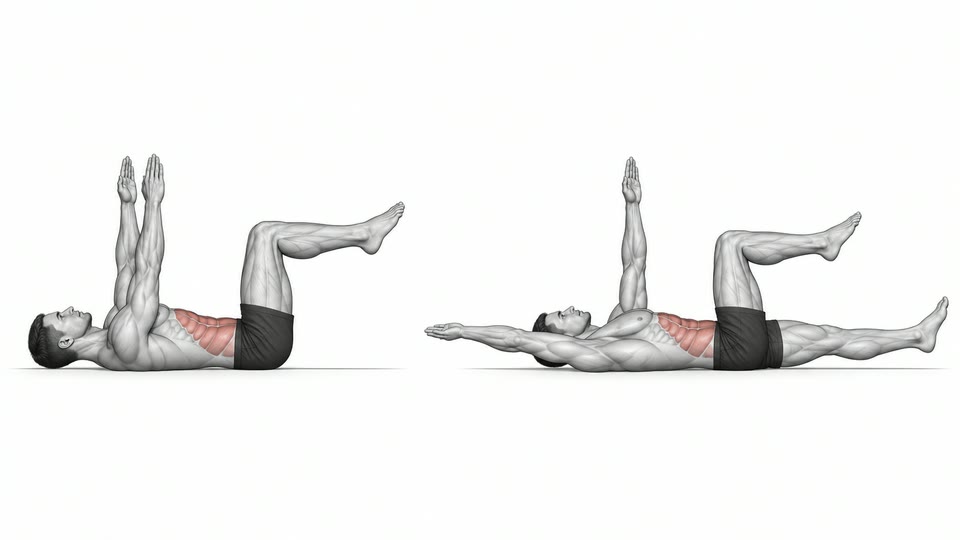
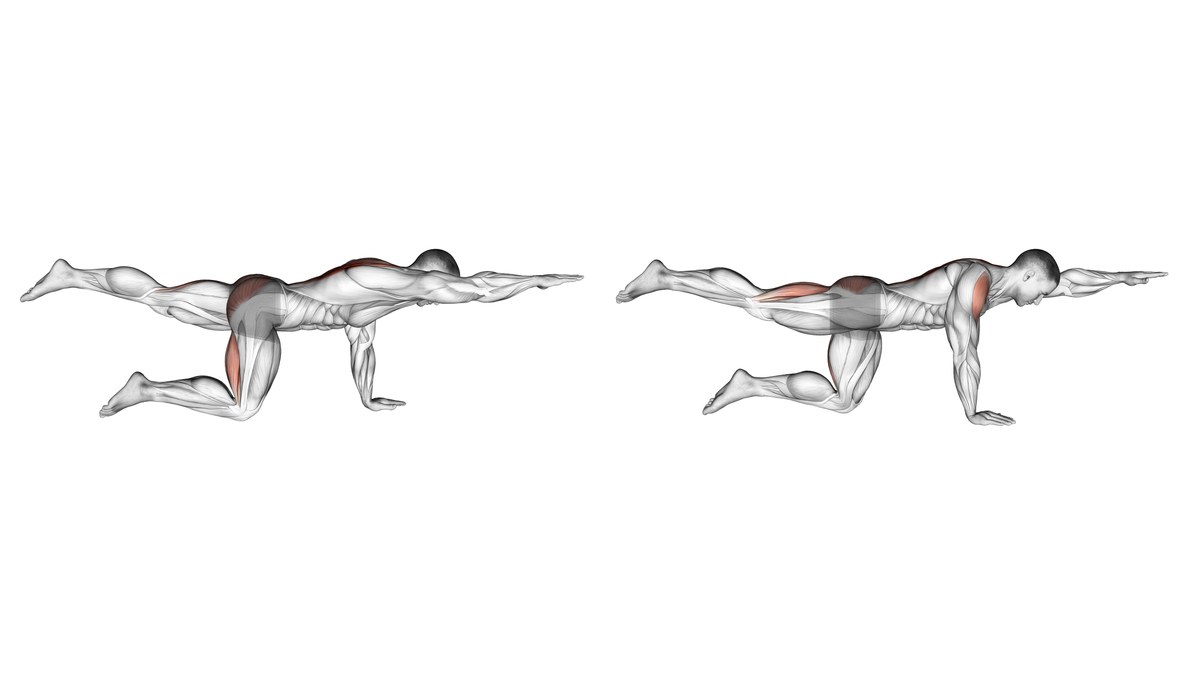
Schematic surface view. Some muscles are partly visible or not shown.
Abdominal targets describe the trunk-control task, not isolation or a ranking of muscle activation. The leg movement and the steadying work are different roles.
Variations
- Short-range heel tap — Lower the heel partway without needing to touch the floor.
Frequently asked questions
What muscles do heel-tap dead bugs use?
The abdominal wall works to control the trunk while the hip flexors move the leg. This includes the rectus abdominis, obliques and transversus abdominis. The primary and secondary labels describe movement roles, not measured activation or a promise to isolate a deep muscle.
Are these the same as touching my heels with my hands?
No. This guide lowers a heel from a legs-raised position with the head resting. Side-to-side heel touches move the trunk and reach a hand toward a planted foot.
Does the heel have to touch down?
Use the lowering range you can control. It is fine to stop above the floor when a full tap would change your back position.
What if I cannot comfortably hold both legs raised?
Return the feet to the floor and choose a supported drill, such as a heel slide or a march that keeps one foot planted. Do not force the tabletop setup just to complete this version.
Can I use this after pregnancy?
Choose a version that fits your recovery and any advice from your maternity or pelvic-health team. Stop if the movement brings on pain, urine or bowel leakage, or pelvic heaviness, and get advice for symptoms that persist or recur. Being able to perform this drill is not a test of readiness for harder training.
Sources
- Shahab Shahid, MBBS; reviewer Uruj Zehra, MBBS, MPhil, PhD. Rectus abdominis muscle. Kenhub. https://www.kenhub.com/en/library/anatomy/rectus-abdominis-muscle
- Gordana Sendić, MD; reviewer Declan Tempany, BSc (Hons). Internal abdominal oblique muscle. Kenhub. https://www.kenhub.com/en/library/anatomy/internal-abdominal-oblique-muscle
- Jana Vasković, MD; reviewer Declan Tempany, BSc (Hons). External abdominal oblique muscle. Kenhub. https://www.kenhub.com/en/library/anatomy/external-abdominal-oblique-muscle
- Gordana Sendić, MD; reviewer Roberto Grujičić, MD. Transversus abdominis muscle. Kenhub. https://www.kenhub.com/en/library/anatomy/transversus-abdominis-muscle
- Gordana Sendić, MD; reviewer Roberto Grujičić, MD. Iliopsoas muscle. Kenhub. https://www.kenhub.com/en/library/anatomy/iliopsoas-muscle